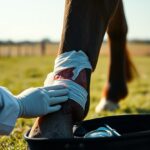
Over weekly sessions, you film exercises to capture progress, flag risks like spooking, and note behavior changes; you organize clips, add timestamps, and review clear videos to guide safe, targeted training adjustments.
How to Select the Ideal Hardware and Software Factors
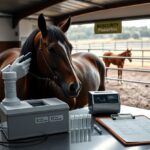
Select optimal hardware and software for smartphone recording: prioritize battery life, sensor quality, and app privacy. After you test frame rate and storage options before rides.
- Camera: fps, resolution, shutter lag
- Battery: capacity and quick charging
- Storage: local space versus upload limits
- Apps: tagging, export and encryption
Evaluating smartphone camera specifications for motion capture
Check frame rate, shutter speed and sensor size: higher fps reduces motion blur, while low-light sensitivity affects dawn/dusk captures. You should test real rides to spot rolling shutter and exposure issues.
Choosing between cloud storage and dedicated equestrian apps
Compare cloud storage costs, upload speed and privacy against equestrian apps features like tagging, gait notes and export options. You should weigh automatic backups versus on-device control to match your training workflow.
Consider trade-offs: cloud storage gives automatic backups, easy sharing and scalable space but may add monthly subscription fees and expose data if lacking encryption; equestrian apps offer tailored tagging, overlays and session analytics but can restrict exports. You should verify export formats, check offline access and confirm who owns your videos before committing.
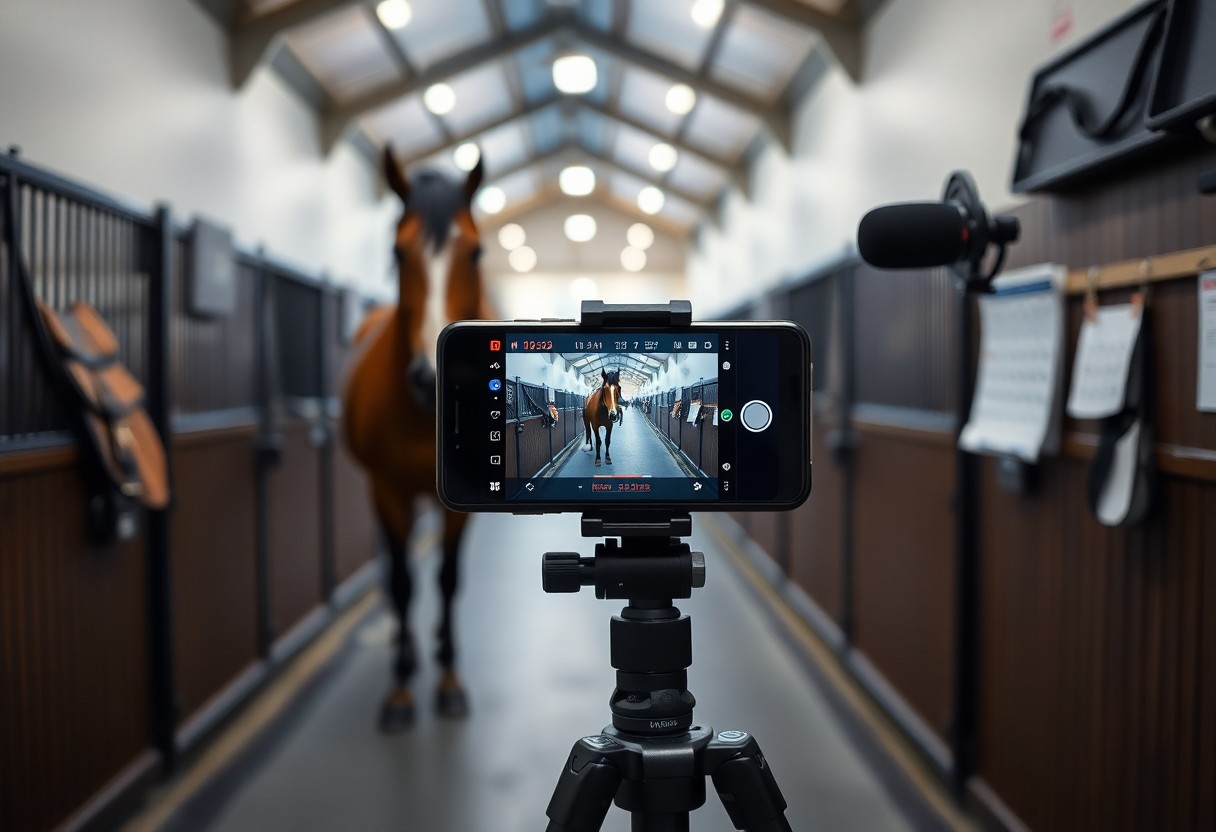
How to Prepare Your Environment for High-Quality Recording
Position your recording area on firm ground away from gates and high-traffic paths, clear obstructions, and mark safe zones so your tripod won’t trip a horse; keep cables tucked and distractions low.
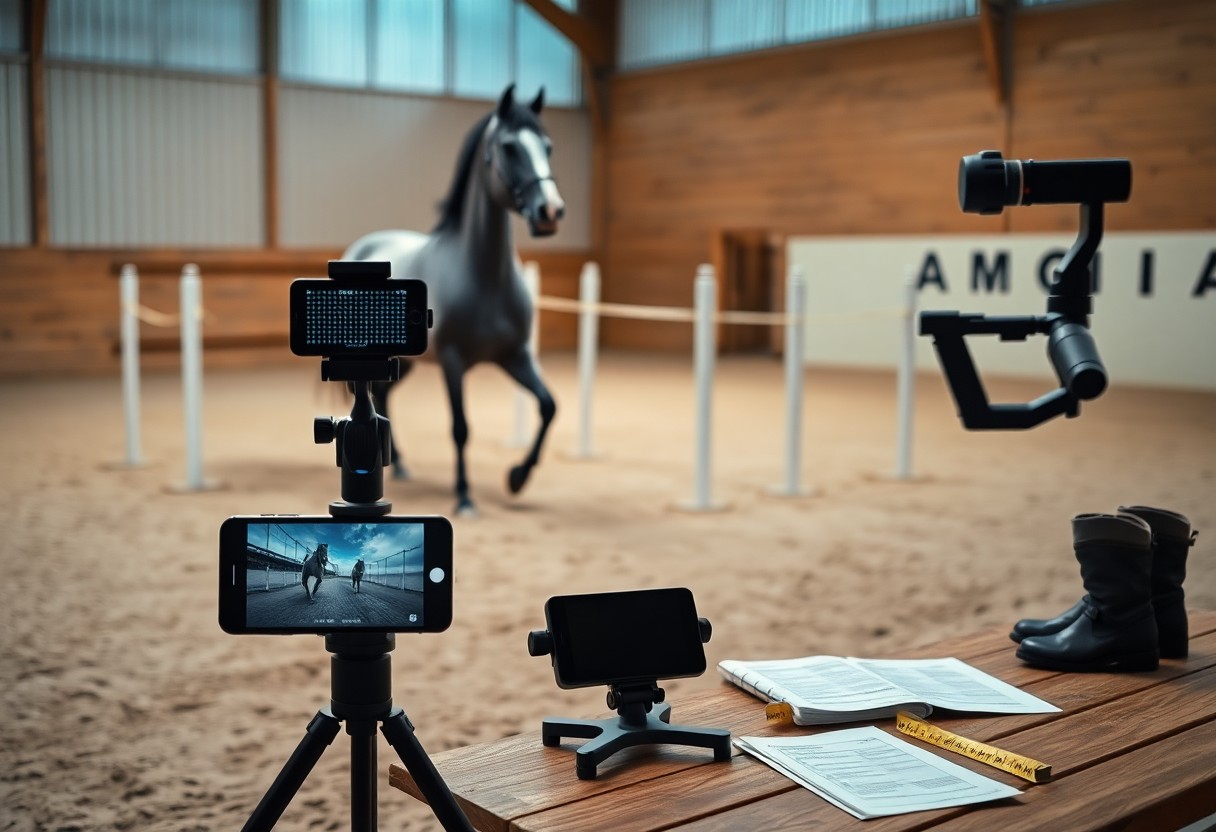
Strategic tripod placement for full arena coverage
Place your tripod at a corner or elevated point to capture the whole arena, set height for a clear horizon, angle for turns, and test that it doesn’t block exits; secure legs for stability and safety.
Accounting for lighting and background noise factors
Control lighting by facing your camera away from low sun, use shade to reduce glare, and pick quieter times or bring a small mic with a foam windshield to cut wind noise.
- Tripod placement: choose corners or elevated points for full coverage without blocking exits.
- Camera angle: tilt to follow turns and keep horizon steady to avoid distortion.
- Recognizing background noise: note nearby traffic, tractors, or wind and plan quieter sessions.
Adjust your camera position and experiment with exposure to prevent glare and deep shadows, record short test clips to spot flicker from arena lights, and position yourself so a passing vehicle or shouting handler won’t startle the horse.
- Lighting tests: shoot short clips at different times to find consistent exposure.
- Noise control: mute machinery, close gates, and use a lav mic near the rider for clarity.
- Recognizing horse sensitivity: sudden shadows or loud sounds can cause spooking, so plan safe positions.
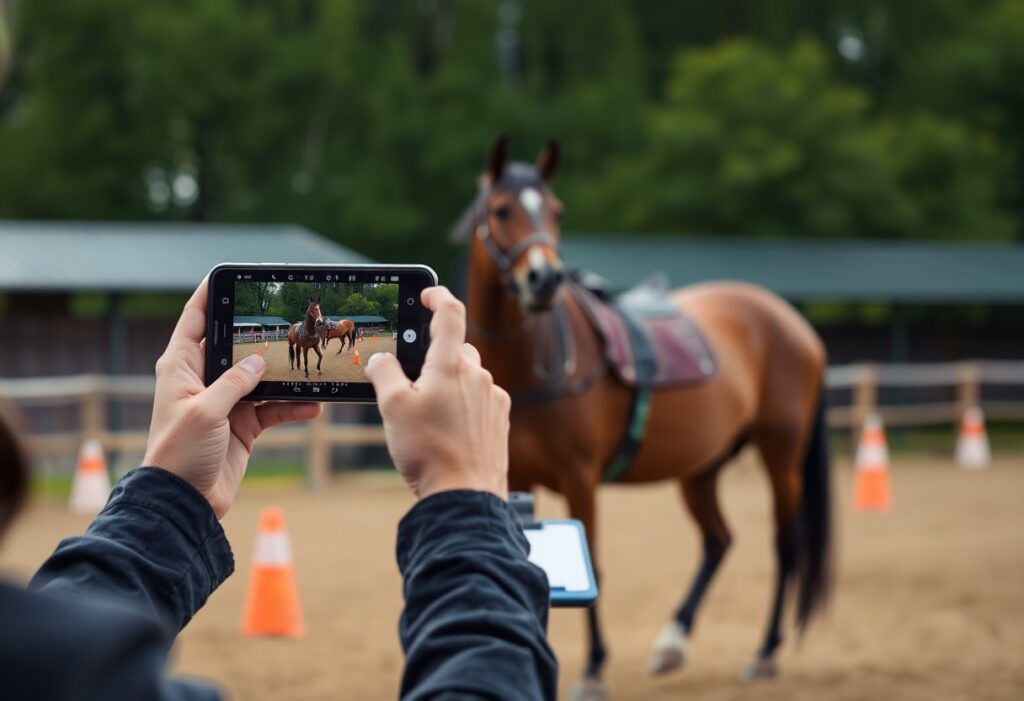
Tips for Capturing Clear and Actionable Training Footage
Record steady, level footage with your smartphone, center the horse, and avoid glare or unsafe footing that create dangerous misreads. Perceiving subtle rhythm and posture shifts lets you measure improvement.
- smartphone
- training footage
- slow-motion
- transitions
- lateral work
Utilizing slow-motion features for biomechanical analysis
Capture short clips at high frame rates so you can watch stride mechanics and hoof flight; stabilize the phone and keep angles consistent for valid biomechanical analysis.
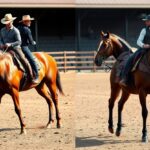
Best practices for filming transitions and lateral work
Frame transitions and lateral work from ground-level and diagonal viewpoints to reveal bend, balance, and rider influence; label clips and keep takes short to track responsiveness.
Position yourself at multiple points-side, diagonal, and behind-to record hoof timing and rider aids; use a tripod or steady hand, mark arena letters for repeatable distances, and capture several short repetitions so you can compare. Keep attention on uneven footing and rider alignment, tag clips with date/task, and flag any dangerous issues while noting clear progress.
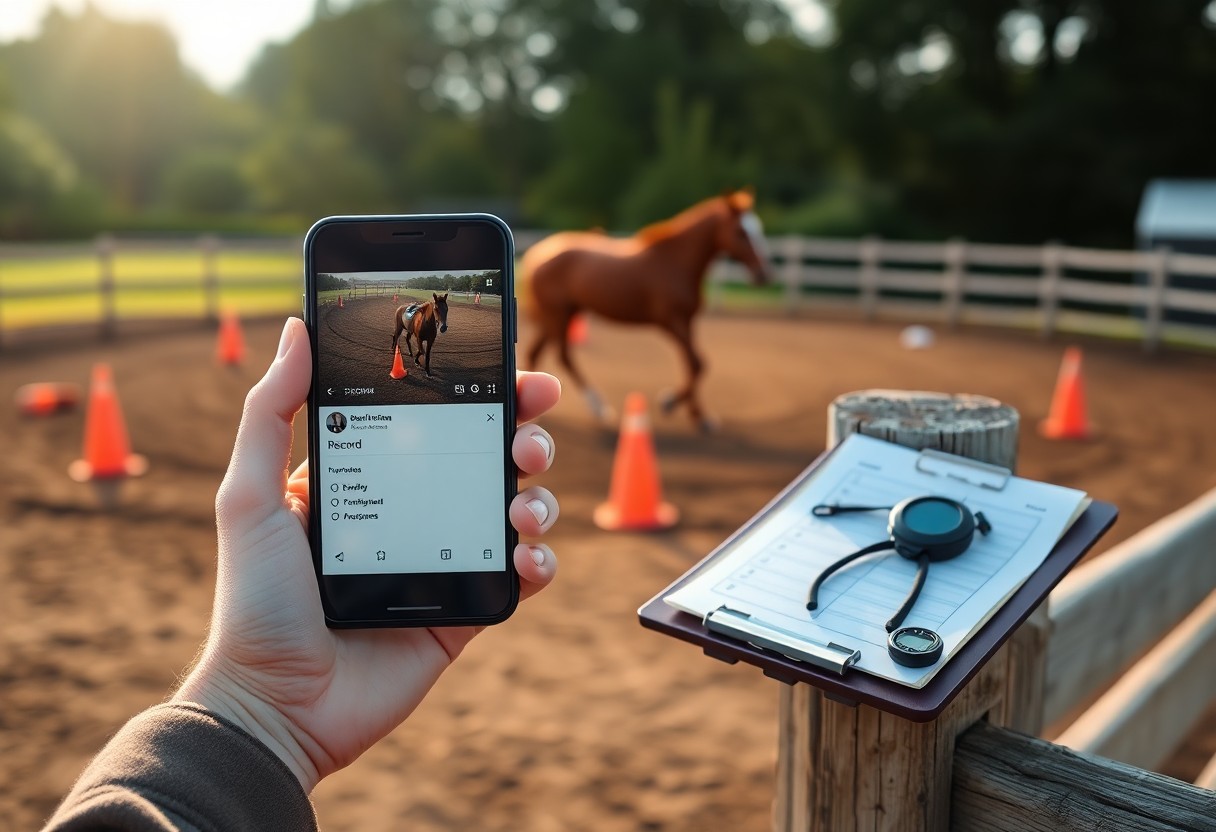
How to Build an Organized Digital Training Log
Organize your smartphone footage and notes into a single digital log so you can track progress, spot regressions, and plan sessions; include date, discipline, and quick notes on each entry for fast review.
Implementing a consistent naming convention for video files
Use a consistent filename pattern like YYYYMMDD_HorseName_Exercise_Notes so you can sort chronologically and find clips; include a version number for major training changes.
Using metadata and folders to track specific developmental goals
Tag videos with goal labels, difficulty, and behavior notes, then create folders per target (e.g., ‘leadership’ or ‘canter balance’) so you can review progress against each developmental goal.
Detailed metadata lets you filter progress by specific criteria: add timestamps for key moments, include trainer initials, flag safety concerns, and log repetitions with success rates. You should organize folders by horse, goal, and phase so you can compare months and spot patterns; use timestamping and safety flags to speed reviews and reduce risk.
Key Factors in Analyzing Your Horse’s Progress
Track consistent metrics like gait, response time, and posture to measure change.
- Health
- Behavior
- Performance
Assume that you note any injury signs immediately and adjust training accordingly.
Comparing historical footage to identify growth patterns
Review side-by-side clips to spot stride, rhythm, and calmness shifts; tag timestamps for trend tracking.
Comparison Tips
| What to compare | How to track |
| Gait & stride | Frame-by-frame, count steps |
| Behavioral calm | Note head height and ear position |
| Response time | Measure seconds from cue to action |
Recognizing subtle behavioral changes through visual review
Watch ear rotation, tail swish, and weight shifts so you can detect stress or relaxation early.
Observe recordings in slow motion and from multiple angles, log repeated micro-gestures-persistent ear pinning, avoidance glances, or uneven hindfoot placement can indicate pain signals or learned responses; timestamp examples and share them with your vet or trainer for follow-up.
Tips for Maintaining a Consistent Documentation Routine
Set short, regular notes and clips so you keep a usable training log and track progress. Any small habit-ten seconds to record or a quick caption-lets you compare sessions reliably.
- Record 1-2 short clips for each ride to capture progress.
- Write one-line notes tagged by date and training goal.
- Sync files weekly to a folder labeled training log.
Integrating filming into your daily barn workflow
Blend quick clips into grooming and warm-up so you capture real progress without adding chores; mount your phone or ask a helper to film short takes. Keep a simple naming rule and a secure pocket so your device stays safe while you work.
Managing smartphone battery life and storage capacity
Conserve power by closing apps, lowering screen brightness, and carrying a charger so you can film every session; offload video weekly to free storage. Watch for overheating when recording long clips and pause to let the phone cool.
Plan settings before you ride: lower resolution or reduce frame rate for long lessons, pick an efficient codec (HEVC if supported), and record multiple short clips instead of one huge file. Carry a portable battery pack, enable automatic backup on Wi‑Fi, and routinely delete redundant takes after confirming transfers.
Final Words
Conclusively you should record short clips with dates and objectives, add brief notes and ratings, review sessions periodically to adjust cues, and back up files so you track measurable progress and maintain consistent training decisions.
FAQ
Q: What should I film each session to document training progress with just my smartphone?
A: Film a consistent set of clips every session: a long shot of the whole arena or paddock to capture gait and balance, a rider-focused shot showing aids and hand/leg position, close-ups of head/neck for contact and relaxation, and short clips of specific exercises (transitions, lateral work, canter departs). Use consistent camera locations and marker landmarks so angles match session to session. Record in 60 fps for smooth slow-motion on trot and canter, switch to 30 fps for general review, and keep resolution at 1080p minimum with 4K when storage allows. Use gridlines and lock focus/exposure, stabilize with a tripod or phone gimbal, and add a quick spoken intro naming horse, date, session goal, and footing or weather conditions.
Q: How should I organize and label videos and notes on my phone so progress is easy to track?
A: Create a folder structure by horse and year, for example “Bella/2026”, then name files like “Bella_20260327_trot-transitions.mp4” to make searching fast. Add short session notes in the phone Notes app with objective metrics (number of transitions, duration in each gait, observed tension points) and tag entries with the session goal. Use photo app albums and labels (iOS Albums, Google Photos) to group clips by skill or problem area. Back up automatically to a cloud service and keep one local copy; export weekly highlight reels to save space while preserving a clear progression record.
Q: What tools and methods can I use on a smartphone to analyze progress and share findings with my trainer?
A: Use slow-motion and frame-by-frame playback to evaluate rhythm, symmetry, and timing of aids. Create short side-by-side or before/after comparison clips and add a brief caption or voiceover that points out changes and next training targets. Annotate key frames with simple markup apps or the phone’s edit tools to show head position or leg alignment. Share via cloud links or messaging apps with session notes and specific questions for the trainer. Maintain a simple weekly log in a note or spreadsheet listing date, focus, outcome, and next steps so trends are visible at a glance.