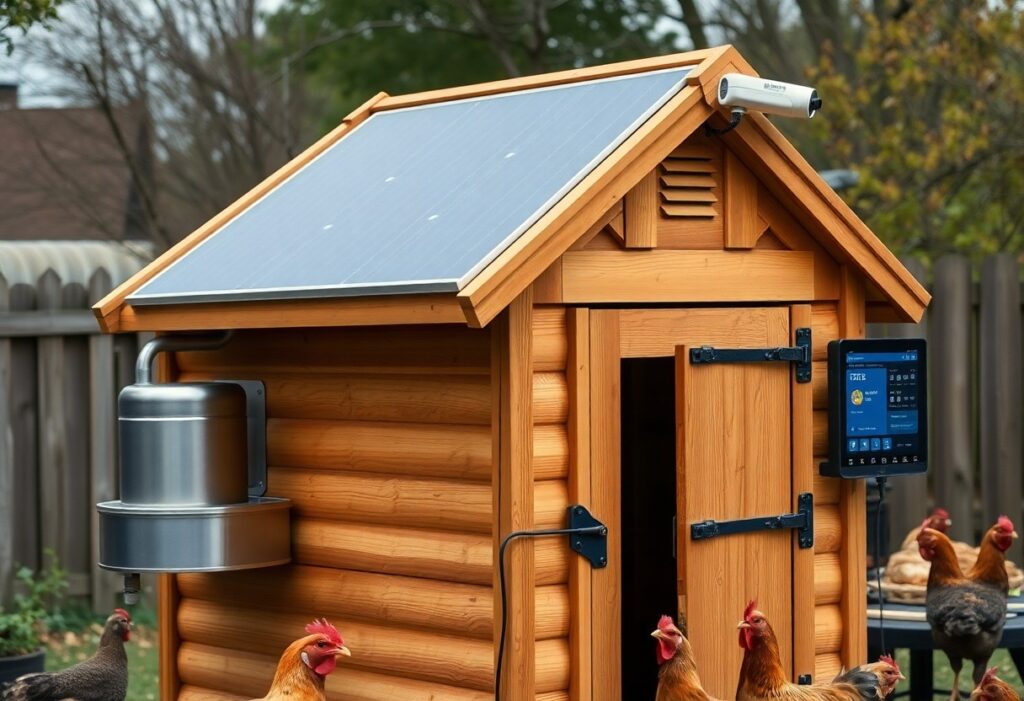
Just add sensors, automated doors, and remote feeders so you can monitor flock health, maintain stable temperatures, and reduce chores; secure wiring to prevent electrocution and reinforce access against predators while installing a backup power source.
Assessing Essential Factors for Coop Automation
Assess your power source, Wi‑Fi range, and predator protection to prioritize automation choices. Thou must provide battery backups and surge protection to avoid outages and fire risks.
- Power source
- Wi‑Fi range
- Flock needs
Identifying power source and Wi-Fi range constraints
Check your coop for permanent AC power, solar feasibility, and map Wi‑Fi range with devices to identify dead zones and plan backups.
Evaluating flock requirements and environmental challenges
Gauge your flock’s size, egg routines, and tolerance to temperature extremes, moisture, and predators to set sensor and shelter needs.
Plan for variable weather by adding insulated nesting boxes, heated waterers to prevent freezing, and vents to control moisture. Size feeders, doors, and perches to your flock and provide manual overrides plus predator-proofing like reinforced latches. Monitor behavior with cameras and sensors to spot heat stress, illness, or aggression early.
How to Install an Automated Coop Door
You mount the track, install the opener, wire power and set limit switches, then test manual override and weatherproofing. Recognizing that proper power backup and sealed wiring prevent failures.
- automated coop door
- manual override
- power backup
Selecting the right motor and sensor technology
Choose a motor with sufficient torque and an IP rating, pair it with sensor options like IR or light triggers, and include battery backup for outages. Recognizing that mismatched specs cause stalls and malfunctions.
- motor
- sensor
- battery backup
Tips for ensuring predator-proof security
Secure hinges, use spring-loaded locks, and bury hardware cloth to block diggers and climbers around the run. Recognizing predators will probe weak seams and vents at night.
- hardware cloth
- locks
- buried fencing
Consider reinforcing the door with angled flanges, install a secondary interior catch, keep hinges inside, and fasten with tamper-proof screws to deter raccoons and foxes. Recognizing that a single failure point can give predators full access.
- flange
- double-latch
- 1/2″ hardware cloth
Regulating Environment with Smart Climate Sensors
Sensors keep continuous records of coop conditions so you can act before problems occur; set alerts for heat stress and excess moisture to protect flock health and egg quality.
Monitoring temperature and humidity levels remotely
You receive live readings and push notifications on your phone, enabling fast responses to temperature spikes or high humidity that increase disease risk.
Sensor Breakdown
| Temperature sensor | Tracks core coop temp and triggers alerts when limits are crossed |
| Humidity sensor | Monitors moisture to prevent mold and respiratory issues |
| Multi-sensor hub | Combines data, logs trends, and sends remote notifications |
Automating ventilation and heating for bird health
Automated vents, thermostatic heaters, and humidity-triggered fans maintain stable temperatures, reducing stress and lowering risk of cold-related mortality.
Program hysteresis, fail-safes, and manual overrides so you avoid short-cycling and false alerts; pair heaters with tip-over protection and smoke detectors to reduce fire risk, and set remote alerts for rapid shifts that indicate ventilation failure.
Implementing Smart Lighting for Year-Round Production
Smart lighting lets you keep hens laying through short days by extending light to a consistent photoperiod with energy-efficient LED fixtures and timed control; monitor for overheating and avoid bright nighttime exposure to prevent stress.
- LED timers for precise control
- Photoperiod targets: 14-16 hours
- After timers ramp gradually to prevent flock shock
Programming supplemental light schedules
Set your timers so photoperiod increases gradually; use randomized offsets to prevent abrupt shifts and sync supplemental light with natural daylight so you can adjust without entering the coop.
Tips for simulating natural dawn and dusk cycles
Mimic slow sunrise and sunset using dimmable LED strips that fade over 20-40 minutes to reduce stress; watch how your birds respond and avoid sudden bright light that provokes nighttime activity.
Install dimmable drivers and program a gentle fade so your flock experiences a 20-40 minute dawn and dusk; pair warm-spectrum (2700K) bulbs for sunrise simulation and limit peak intensity to prevent overstimulation, observing behavior to fine-tune settings.
- fade duration: 20-40 minutes
- color temperature: warm dawn tones (~2700K)
- After monitoring, lower intensity if birds show nocturnal activity
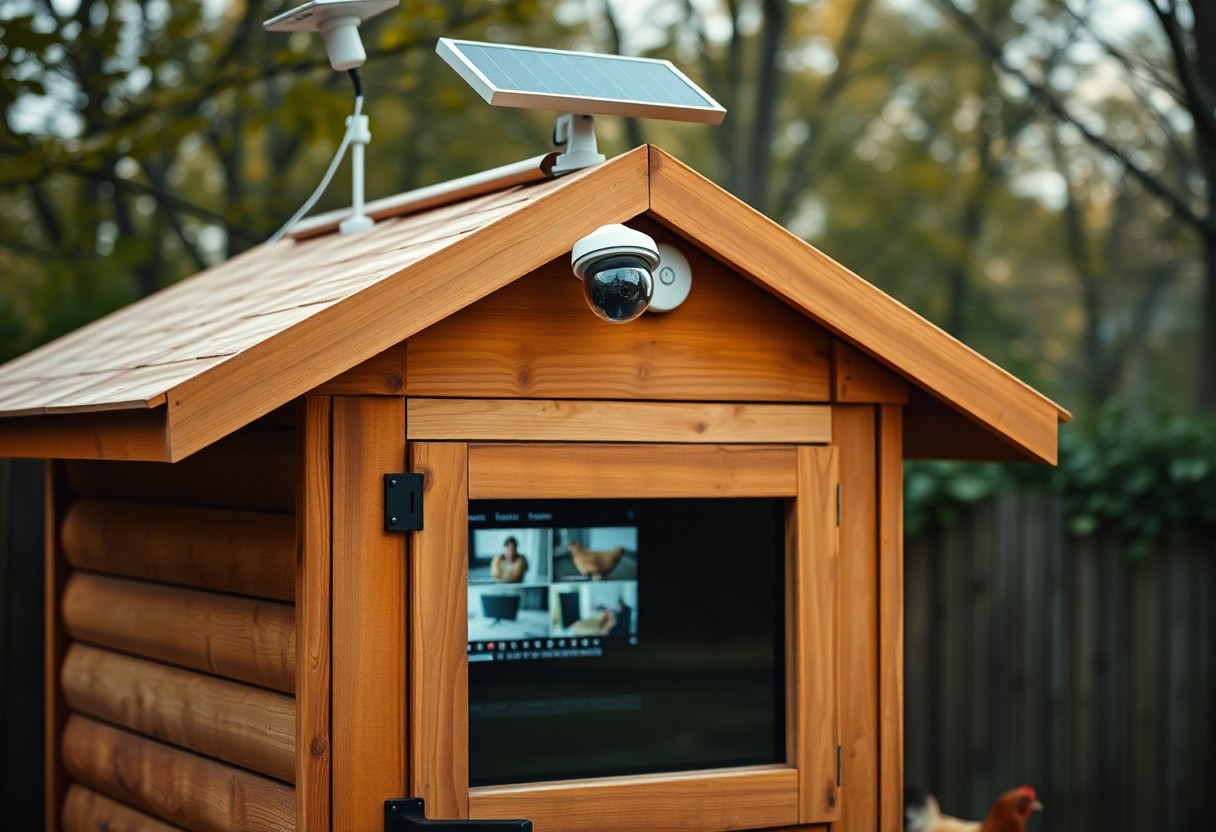
How to Set Up Remote Video Monitoring
Place cameras to cover roosts and runs, mount high for 120° views, power via mains or solar backup, and use a secure encrypted feed so you can watch remotely and respond to predators or injuries.
Choosing weather-resistant cameras with night vision
Select cameras with an IP66 waterproof rating, reliable infrared night vision, and effective motion detection; choose 1080p or higher and verify wireless range to avoid blind spots and water damage.
Monitoring flock behavior and health via smartphone
Use smartphone apps that stream live video and send real-time alerts for unusual motion, temperature drops, or prolonged inactivity so you can spot early illness signs or predator activity and act quickly.
Monitor multiple cameras from a single app offering cloud and local recording, two-factor authentication, and adjustable motion sensitivity so you avoid false alarms. Set temperature and inactivity thresholds, tag events like egg-laying or aggression, and prioritize data security, battery health, and real-time alerts. Watch for reduced movement, panting, or feather loss-these signal disease, heat stress, or attack; respond immediately by triggering alarms, contacting help, or using automated doors if available.
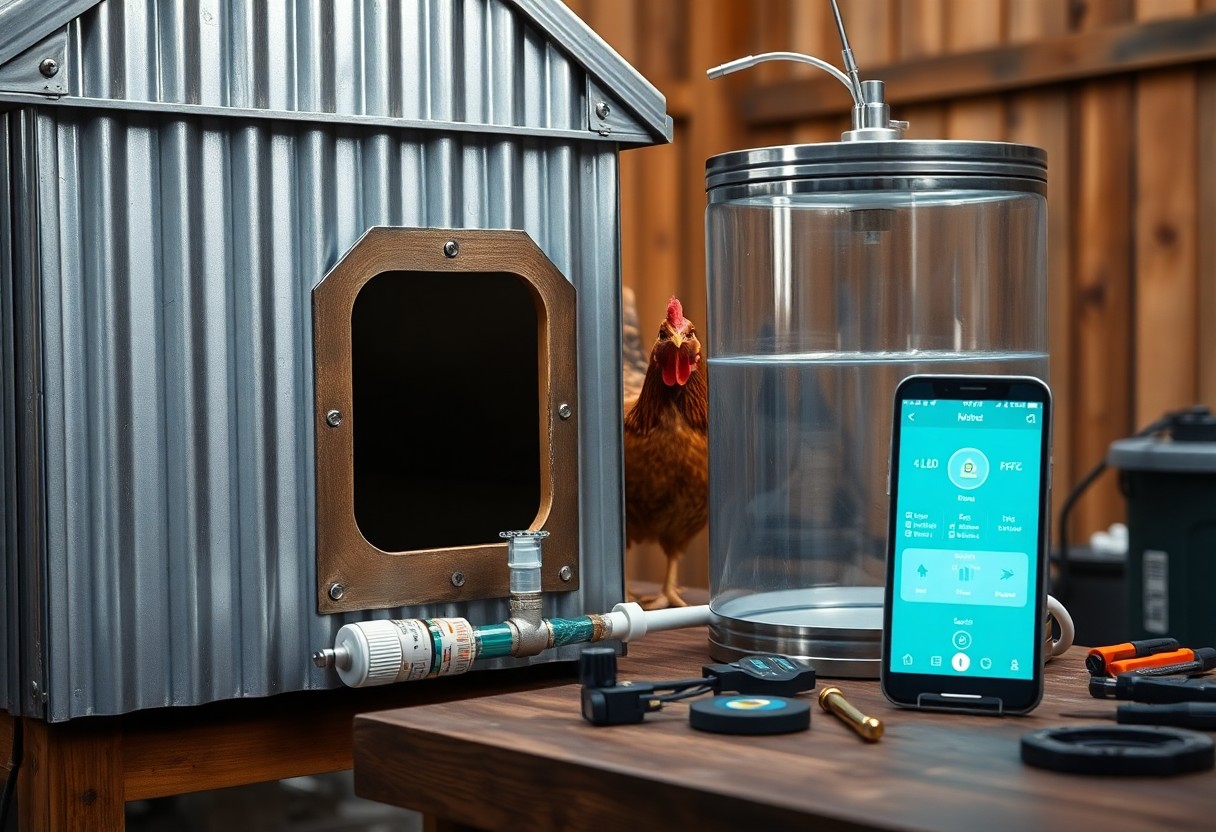
Automating Food and Water Management
Automating your coop’s food and water reduces waste, ensures consistent feeding schedules, and lets you monitor levels remotely using timers, sensors, and alerts.
Factors for selecting high-capacity smart feeders
Choose a high-capacity smart feeder with reliable power backup, adjustable dispensing, and a rodent-proof hopper. Any model should offer easy cleaning and programmable portions to prevent spoilage.
- Capacity: longer refill intervals
- Power backup: battery or solar options
- Dispensing accuracy: programmable portions
- Build material: easy-clean, weather-resistant
Maintaining water hygiene with automated systems
Keep automated waterers free of algae and bacteria by using filtration, UV sterilizers, and scheduled flushing you can program into the system.
You should inspect lines and nipples weekly, flush sediments, and replace filters monthly since biofilm buildup can cause contamination that harms hens; install a heated bowl or backup heater to prevent freezing, and enable flow alerts so you can address clogs before animals go thirsty.
Summing up
With these considerations you can choose and install smart feeders, coop sensors, automated doors, and cameras that suit your budget and climate while prioritizing poultry safety, power backup, and reliable connectivity so you maintain flock health and productivity with minimal daily effort.
FAQ
Q: Which smart devices make the biggest difference when upgrading a backyard chicken coop, and how should I prioritize purchases?
A: Priority should go to systems that improve bird safety, health, and reduce daily labor. Automatic coop doors with reliable timers or light sensors prevent predator access and cut morning/evening chores. Temperature and humidity sensors tied to ventilation fans or heaters protect flock health in extreme weather. Automatic feeders and float-regulated waterers minimize wasted feed and water interruptions. Cameras or motion sensors provide remote monitoring and predator alerts; choose night-vision and weatherproof housings. A central controller, smart plugs, or a simple microcontroller (Raspberry Pi/Arduino) can coordinate devices; match wireless protocols to device needs (Wi‑Fi for cameras, Zigbee/Z‑Wave for low-power sensors). Consider power options: mains with GFCI protection, battery backup, or small solar setups for off-grid reliability. Start with one or two high-impact devices and expand after testing their reliability and maintenance needs.
Q: How do I install smart equipment safely and make it durable in outdoor coop conditions?
A: Plan device placement to reduce exposure to droppings, dust, and pecking; mount electronics under eaves or inside IP-rated enclosures. Route wiring in conduit or armored cable and elevate connections above typical moisture lines. Use marine-grade or weatherproof connectors and silicone-sealed junction boxes where moisture or ammonia exposure is likely. Protect mains circuits with GFCI outlets and add surge protection for areas prone to lightning. Size relays and power supplies to handle startup current for motors and pumps, and use low-voltage or isolated transformers where possible. Ensure automatic doors and feeders include manual overrides, mechanical stops, and fail-safe settings so birds cannot be trapped by an electronic fault. Schedule periodic inspections for corrosion, seal integrity, battery state-of-charge, and firmware updates, and keep spare parts for components under mechanical stress.
Q: What are the best practices for connectivity, automation rules, and security of coop smart systems?
A: Test Wi‑Fi coverage at the coop location and add a dedicated outdoor access point or mesh extender if the signal is weak; consider a cellular failover for remote properties. Prefer local control for mission-critical functions like doors and water pumps to avoid total dependence on cloud services; use cloud platforms for remote monitoring, alerts, and backups. Harden device security by changing default credentials, enabling two-factor authentication where available, and isolating coop devices on a separate VLAN or guest network. Configure automation with safety margins and redundancies, for example keeping doors closed during heavy rain or when sensors report unsafe temperatures. Log sensor data to detect trends, set threshold alerts for low battery or abnormal readings, and review logs regularly to catch early signs of failure. Test full system behavior with power outages and connectivity loss to verify manual overrides and emergency procedures work reliably.